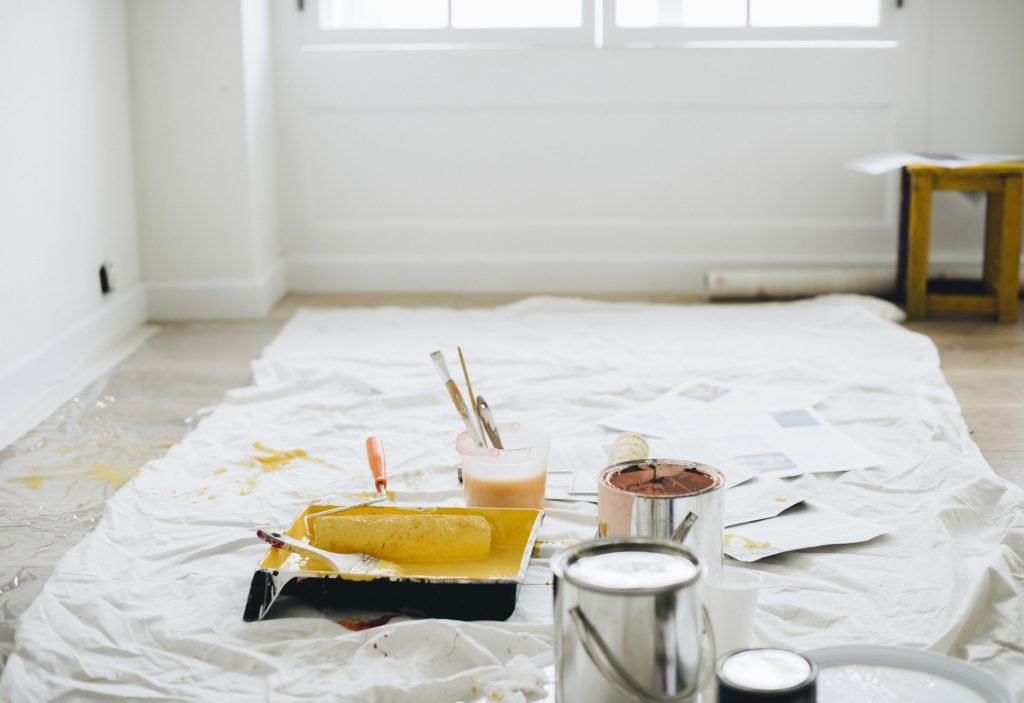
Helpful Tips For Your Next Painting Project
Are you thinking of a painting project at your home? Whether you’re preparing to sell, changing your décor, or doing some routine home maintenance, following the tips below can give you the results you desire.
First, Determine The Type Of Paint Currently On The Walls/Surface: Not sure if a wall/surface’s existing paint is oil or latex? Soak a cotton ball in rubbing alcohol and rub it in a small area across the wall. If the cotton ball has paint residue, the paint is latex. No paint on the cotton ball? It’s oil-based paint and you will want to use an oil-based primer before painting.
Use The Right Primer - If you’re painting new drywall, use a water-based primer to hide imperfections and provide an even base before applying color. If you’re painting paneling, water-damaged, or smoke-saturated walls, opt for an oil-based primer.
Enhancing The Paint Stirrer - The free paint stirrer you receive when you purchase a can of paint is fine but to get a better paint consistency before you stir the paint, put a few holes in the stirrer to help mix the paint more thoroughly. The holes help the paint flow through the stirrer, aerating it like a whisk and mixing the paint evenly. Better yet, try using a whisk.
Using Painters Blue Tape - Sometimes it can be difficult to peel painter’s tape off its roll without tearing or sticking. If your painter’s tape is old or continues to peel, microwave the whole roll for 5-10 seconds.
Which Size Roller To Use - The nap is the fabric material covering the roller, and longer naps create more stippling on your wall because of the way their fibers distribute the paint. Use a shorter-nap roller – between ¼” and ½” nap – for the smoothest finish. If you want more texture on your wall, choose a roller with a longer, ¾” nap, which holds more paint.
Sanding Before Painting - If the trim is new or already smooth, lightly sand using 120-grit sandpaper until all shine disappears from the trim. If the trim is rough and worn, start by sanding with coarse, 80-grit sandpaper. Then, move to less-coarse sandpaper such as 100- or 120-grit to smooth the surface.
Smoothing walls before painting is necessary for surfaces previously painted with gloss or high-gloss paint. For previously painted water-based paint, sand with fine-grit sandpaper. For oil-based paint, medium-grit sandpaper (100- to 150-grit) should be used. Again, wipe away any debris and allow it to dry completely.
Didn’t Finish The Actual Painting Part In One Day -
-Cleaning Brushes: If using latex paint, there’s no reason to clean your brushes or rollers. Because cold temperatures keep latex paint from drying quickly, you can simply wrap your rollers or brushes in plastic bags or tin foil and put them in the refrigerator. (Be sure to let them fully warm back up before using them.)
-Storing Paint Can: A half-empty can of paint will dry out. Drop golf balls into the paint can to fill the air space, or place plastic wrap under the lid, seal it tightly and store the paint upside down until you can finish the project.
Purchase A Paint Pen - Once you have completed your project, it’s a good idea to purchase a paint pen and fill it with some of the extra paint you may have leftover. This is a handy way to touch-up walls and trim should they need it before the next time you decide to paint.
When you are ready to refresh your home and do not want to tackle the painting yourself, consider Cobb Brothers Company. We’ve been helping customers, just like you, for over 37 years with all their painting and carpentry needs. Contact us today at 508-655-7910 and we’d be happy to come out and take a look at your project. You will be glad you did.

